How To Paint Wooden Kitchen Cupboard Doors - OldEnglishDoors

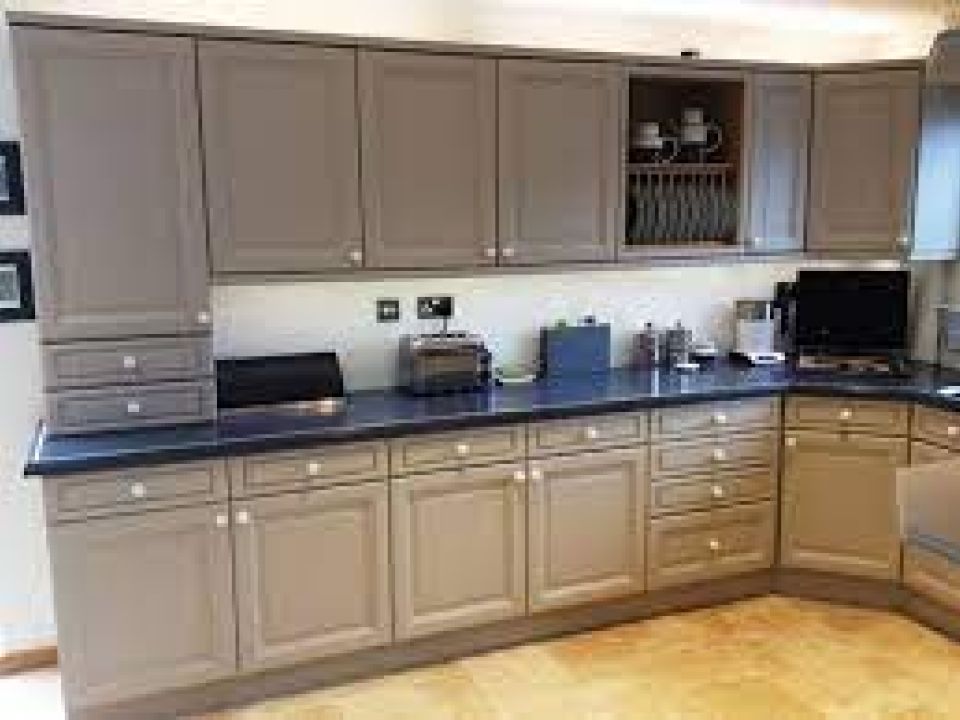
Here is a step-by-step guide to painting your own kitchen cupboard doors, I did this project last year and am glad to have it finished. Of course, my daughter painted her name on one of the doors. It was a great opportunity for me to use Annie Sloan Chalk Paint which is an all-natural chalk paint you can find at your local hardware store.
Here is a list of supplies you will need:
• Putty knife or liquid nails spreader (with a fine tip) - to apply paint in tight areas such as hinges and corners.
• Caulk gun - for applying Liquid Nails if needed to fill holes.
• A quart of Waterlox Marine Finish- Satin Pre-Catalyzed Lacquer - for sealing doors.
• A 2 qt of Annie Sloan Chalk Paint in French Linen and Old White - if you like the look of distressing or antique
• Thin paintbrush - to apply chalk paint to hinges.
• 220 grit sandpaper - This will be used to lightly sand before each coat (drying time is key here)
• High gloss polycrylic water-based lacquer – This will be used as a top coat after all coats of paint are finished, I chose high gloss because it brings out colors and gives that "wet" look.
STEP 1: Fill any holes with Liquid Nails and let dry (this takes about 1 hour).
STEP 2: We will start with the hardest and most time-consuming door first. Apply a single coat of waterlox sealer on that door, make sure to follow manufactures directions for drying times. I did some research online before choosing to use this product and was pleased to learn that it can be re-coated again after 24 hours as well as it is non-toxic since I have small children in my home. This step should not take more than an hour or so depending upon how fast your paint dries. You may want to do the other doors while waiting on the Waterlox to dry as I did during nap time (yeah right!) But we still love you...MOM!
STEP 3: After the first coat has dried, apply another single coat of French Linen and Old White mix. You may need to touch up any areas that you did not get with your brush. Let it dry for at least 24 hours.
STEP 4: The next day we will sand lightly using 220 grit sandpaper. Carefully follow all directions given on the back of the can regarding ventilation, dust mask, etc... I only had to use a putty knife in a few small places where it was difficult to reach with my hand alone (such as inside door hinges). Just make sure if you are doing this step that you read labels completely because there is also a lot of warnings about harmful fumes from paint thinner or water-based stains so be careful. Just do it outside.
We will sand to remove any loose paint and then wipe clean with a dry cloth or tack rag (I used an old t-shirt). Some people may skip this step and go straight to the third coat but I chose not to for my own reasons. This takes about 10 minutes.
STEP 5: Apply a second coat of paint using your thin brush in all areas that were difficult to reach before. Let dry overnight or at least 24 hours. The next day apply your final coat, after applying, lightly tape off the wood section you are going to distress with 220 grit sandpaper because we want it lighter than other parts of the door (such as the white border around our sten) The distressing technique is to be done on the final coat so it looks very even.
STEP 6: Wait at least 24 hours before applying polyurethane to seal your paint job, follow the manufacturer's directions for drying times and proper ventilation. If you are spraying as I did then make sure to spray in a well-ventilated area (outdoors) two thin coats should be adequate. I am a novice at using a spray gun but with practice, it will get better. Make sure to let dry overnight before using again or that is when I would suggest touching up any missed areas. The goal is not too thick to keep a satin finish look and smoothness.) Be careful not to get too much on the painted door bottoms they will stick together if you let the polycrylic dry too long.
STEP 7: Apply your new hardware and reattach using wood screws, you may want to drill pilot holes (I didn't). I tried removing the old hinges but they being so close to the frame would not budge, this step took about 5 minutes. Do not paint hinges! If you are replacing the door handles that is a decision you will have to make on your own, I chose not to replace mine for now because I am trying to keep costs down while still doing a good job. The new knobs can be purchased at any store or online such as at Restoration Hardware.
Elevate Your Property with Heritage Craftsmanship
Looking to enhance your period home with bespoke craftsmanship? At Old English Doors, we specialise in creating custom wooden doors, windows, porches, and more - designed to reflect your home’s unique charm. Contact us today for a personalised quote and bring timeless elegance to your property.


