How to Renovate Wooden Doors - OldEnglishDoors

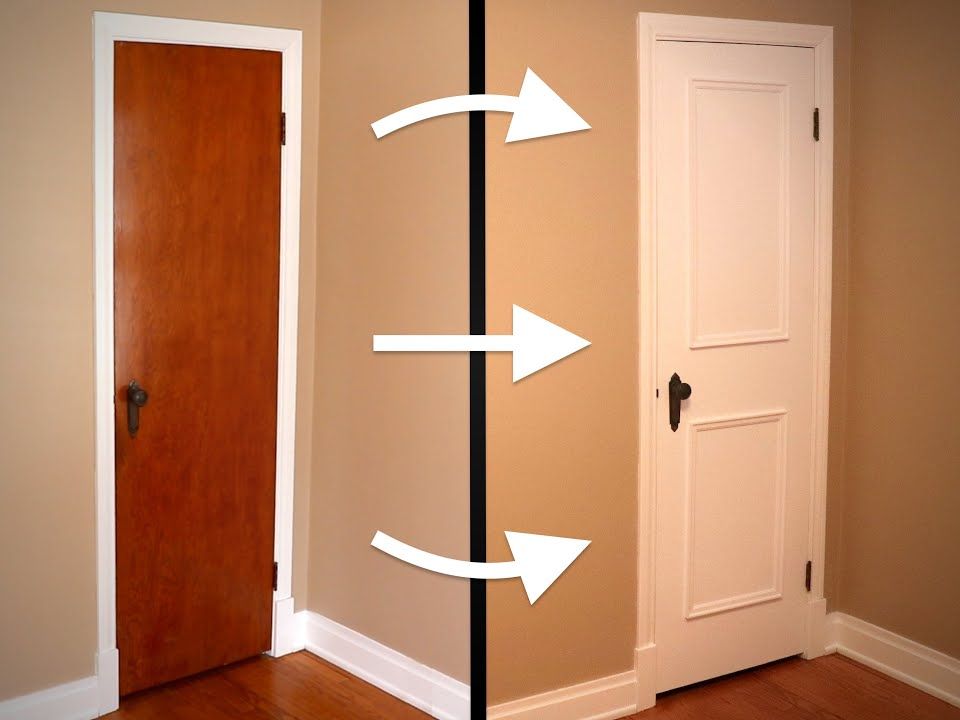
 When we buy or build our first home, we prefer to select the most economical elements so that we don't surpass the budget. Typically, this is the case for doors. However, after a few years of evaluating their appearance, we need to determine whether to substitute or renew them. Before you decide whether to retain them or repair them, the first thing to do is to determine whether they are straight and quick to restore.
They tend to warp or lose their coating or varnish with time and exposure to the elements. After you evaluate the condition of the door, you can determine if you can do the restoration, or whether you need a professional to do it. Either way, this ideabook will help you get tips on the best way to renovate your doors.
Step 1: Remove the Door From the Hinges and Lay Flat on a Pair of Sawhorses
The first thing you need to do is remove the door from its hinges. Solid wood doors are extremely heavy, so you'll need some support with this move. Open the front door and lay some wooden blocks under the bottom edge to help support the door. Remove the hinges by tapping the pins upwards with the aid of a flat head screwdriver. The door should slip out of the hinges now. Place the door on your sawhorses.
Ideally, you can work outside in the shade as you don't want to expose the door to the sun while staining or adding lacquer.
Step 2: Remove All Door Hardware
If the door is still in reasonably good condition without significant deterioration, with a re-coating with some spar lacquer, you might be able to get away. Otherwise, when it is finished, the safest bet is to strip the door completely. The first thing to do is to remove all of the door's hardware, including the handle, deadbolt cylinder, mailbox, knocker, kick plate, etc. Yeah, you can get away with leaving your hardware on, but the finished look is going to frustrate you. After all, you may as well be doing the right thing if you're going to do all this hard work.
Tip: you may extract the deadbolt cylinder if you have an antique mortise lockset by first unscrewing the 2 small screws mounted on the front plate on the inside of the door (no need to remove them entirely, only unscrew 3-4 full revolutions), then inserting a heavy-duty flat head screwdriver into the keyhole and turning the cylinder counterclockwise.
Step 3: Sand Down the Door
It is high time to sand it all down now that the hardware is deleted. The power sander can be used for flat surfaces, but the specifics of the woodwork should be hand-sanded. The harder sculptures are, the more replicated will be this technique. Start with 60 grams of paper and work up to 180 grams of paper. Make sure all previous finishes are taken off.
Tip: Be careful when you sand wood next to glass, so that the sanding scratches the window (I learned the hard way). To cover the window, use the painter's tape. This is also beneficial when the time comes to varnish and stain.
Step 4: Remove All Traces of Sawdust & Apply Stain
Next, the stain you want can be applied if you want. But first of all, make sure it's all vacuumed and then clean the door. Using a paintbrush or a rag to saturate the wood with the colorant and wipe it off with a painter's stick. I used the "early American" stain of Varathane, which resembled the original color of the door. Using a second coat if needed.
Step 5: Apply Exterior (spar) Varnish
The most important step is to cover the door with external varnish after letting the stain dry. The outside lacquer differs from inner lard (spar lacquer) because it has unique additives that help protect the wood against UV rays and elements. However, this lacquer is not true in the boat. You would like to apply at least 2-3 coats. I've given the door a stain-finished matter look, but you can get a varnish with a bright finish if you prefer.
Step 6: Reinstall Hardware and Hang the Door
Re-install the door hardware after letting the varnish dry according to the directions. If you have any, like my door's extremely tarnished brass kick plate, it is also a good time to polish some brass fixtures. To restore the kick-plate, I used Brasso metal polish. Don't be fooled though, it is hard work to return brass to its original shine and takes a lot of elbow grease, and then some. The final outcome, however, is extremely satisfying.
Elevate Your Property with Heritage Craftsmanship
Looking to enhance your period home with bespoke craftsmanship? At Old English Doors, we specialise in creating custom wooden doors, windows, porches, and more - designed to reflect your home’s unique charm. Contact us today for a personalised quote and bring timeless elegance to your property.


